Install Website Tracking
After installation you will need to add a tracking script to the websites for each site you wish to track via Lead Guerrilla. This is a very simple process and you can add this tracking script to your website template file. You can install the tracking code yourself manually, or there are plugins available for popular Content Management Systems (CMS) – WordPress, TYPO3, Drupal and Joomla!.
As these plugins also provide web form support (see below) they are highly recommended. These CMS plugins typically use multiple techniques including javascript, tracking pixel, cookies and device fingerprints.
Install Web Form Support For Your Website’s CMS
Web forms are a critical capability for any marketing automation project. With Lead Guerrilla you can define your own independent Landing Pages, define web forms to embed in the pages of your existing website, or you can use a plugin (for WordPress, TYPO3, Drupal or Joomla!) which enables the creation of web forms as well as enabling website tracking.
Install Lead Guerrilla Plugins
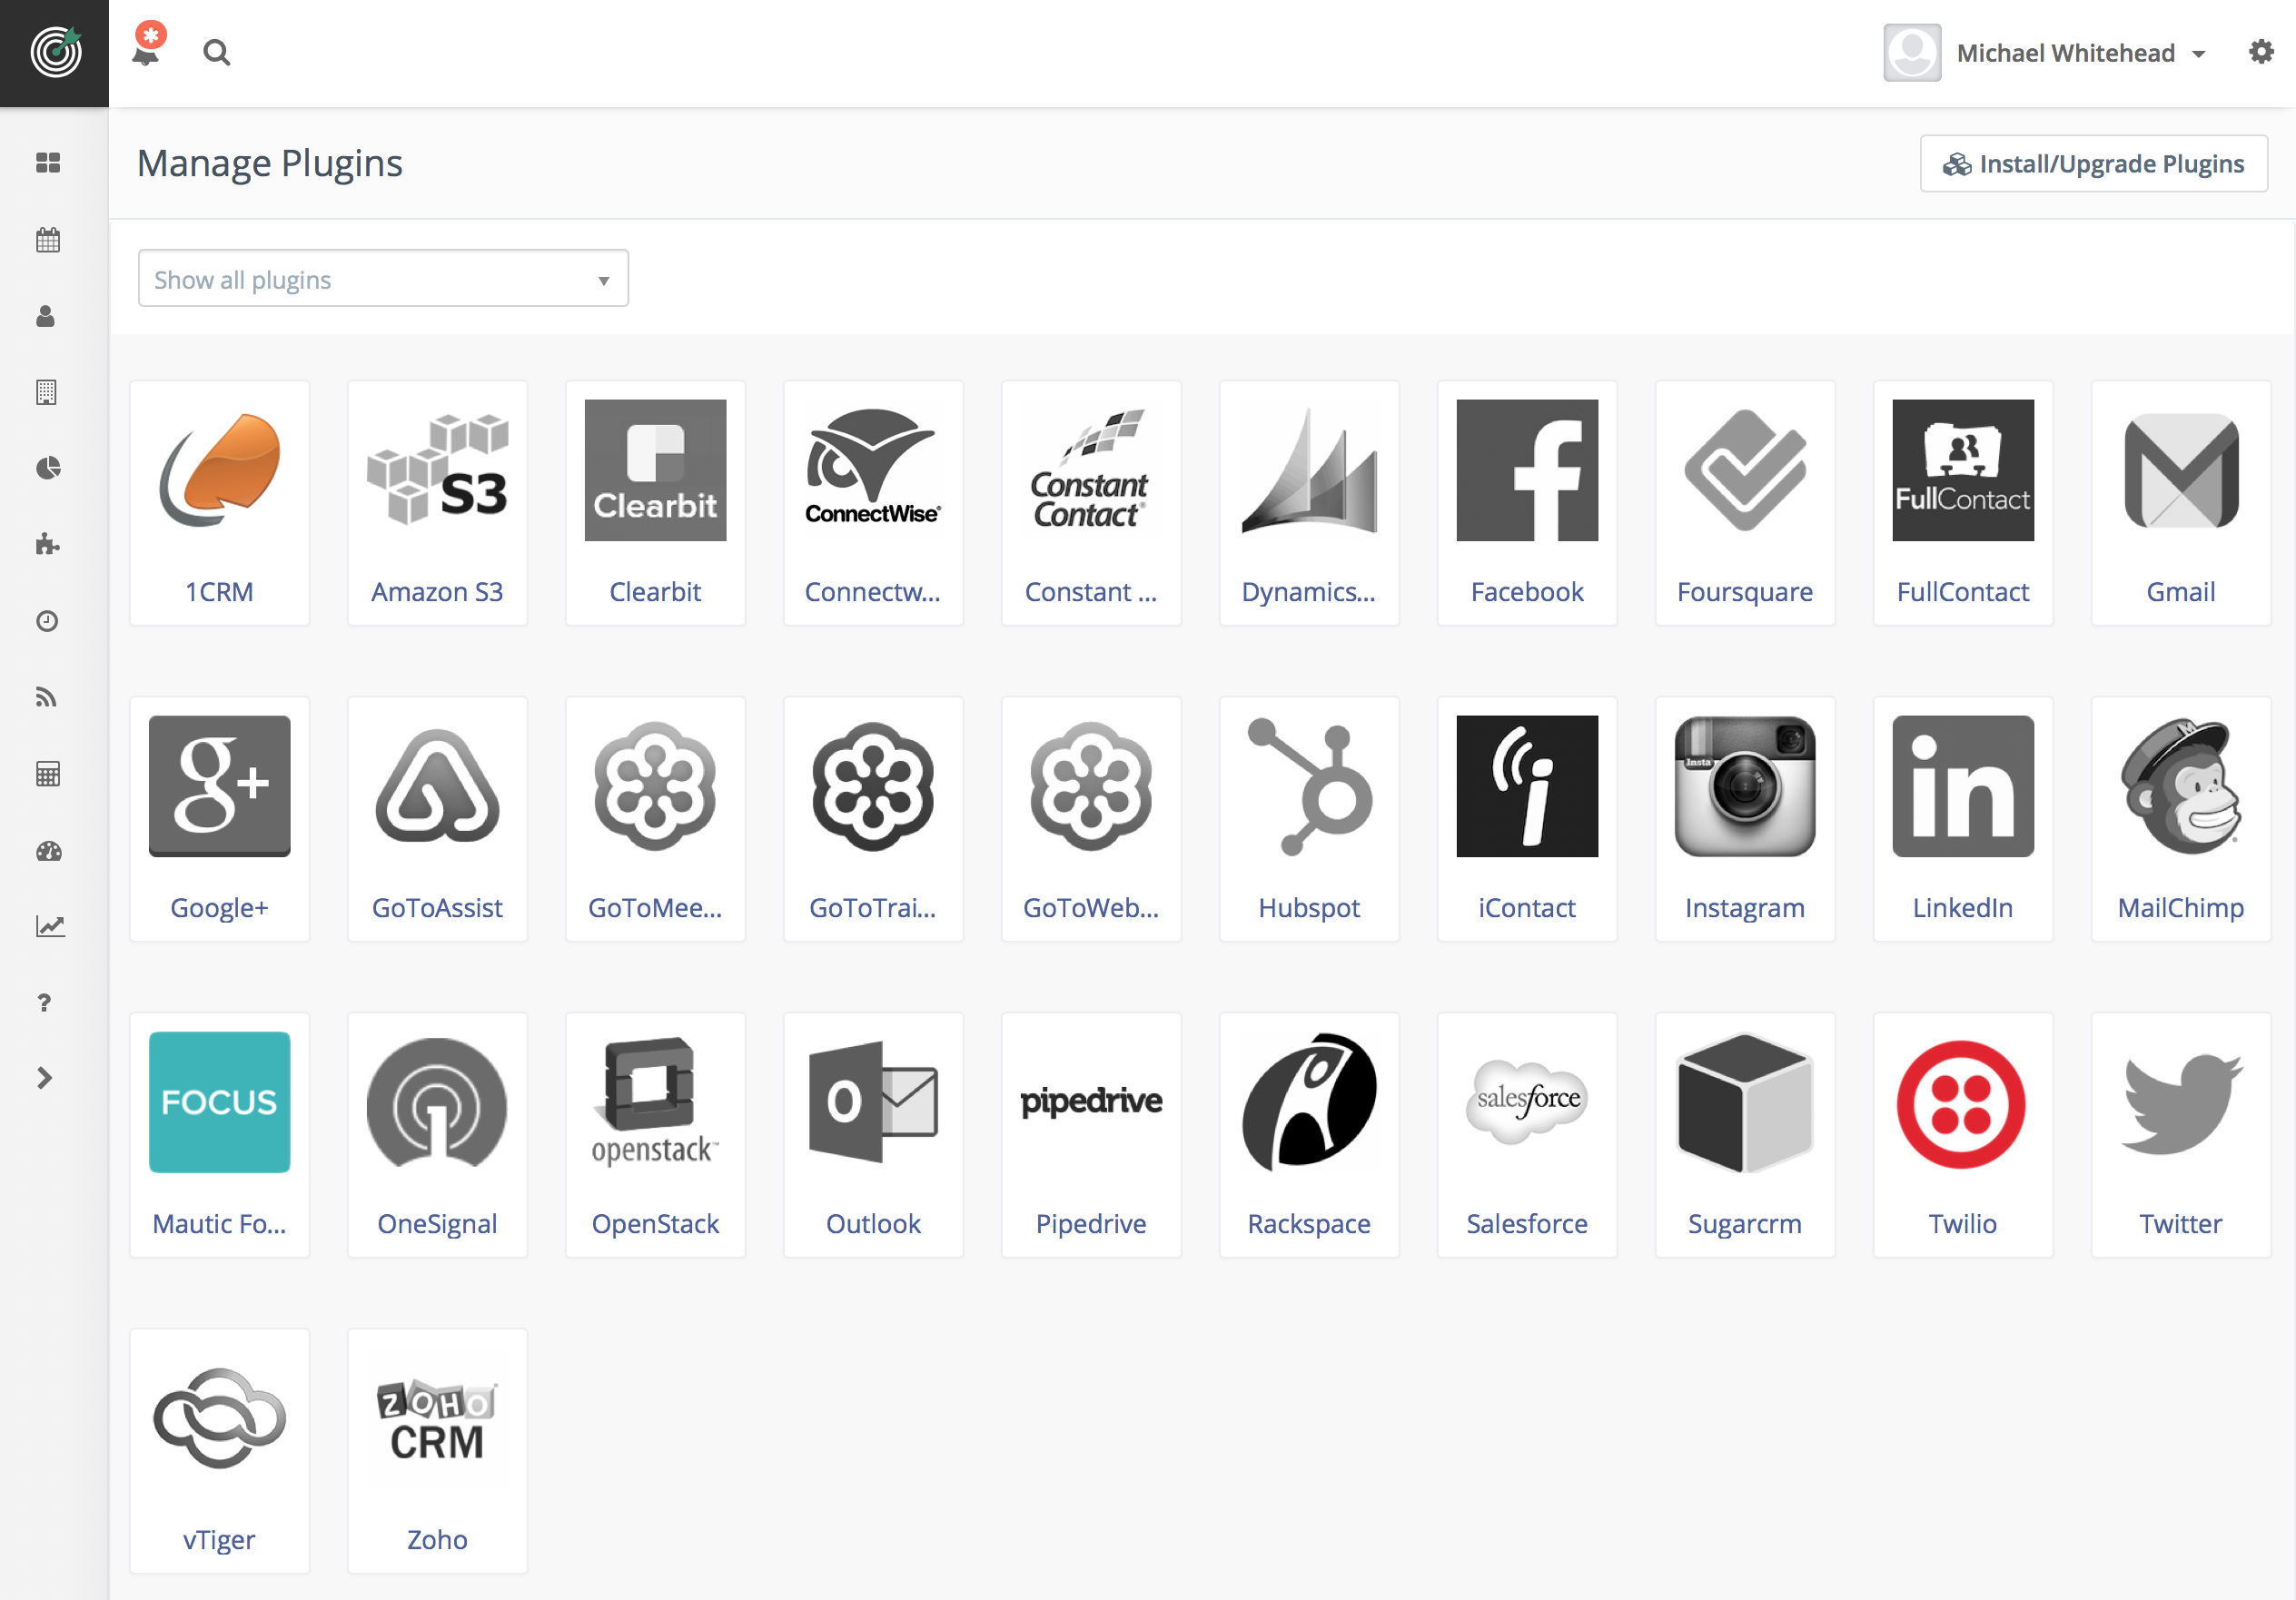
Lead Guerrilla has a large number of its own Plugins available, which need to be installed so that you can use them. Select the Plugins option from the Settings menu, and then click on the button Install / Upgrade Plugins, and a wide range of plugins will appear on that screen.
Configure your Unsubscribe / Message Preferences
Define the screen your prospects will see when they choose to unsubscribe from your emails, or fine tune their preferences for your messaging to them. They can control how often you message them per week or month, if they prefer text or email messages, and which types of messages they wish to subscribe to.
Setup the Twitter Integration Plugin (Optional)
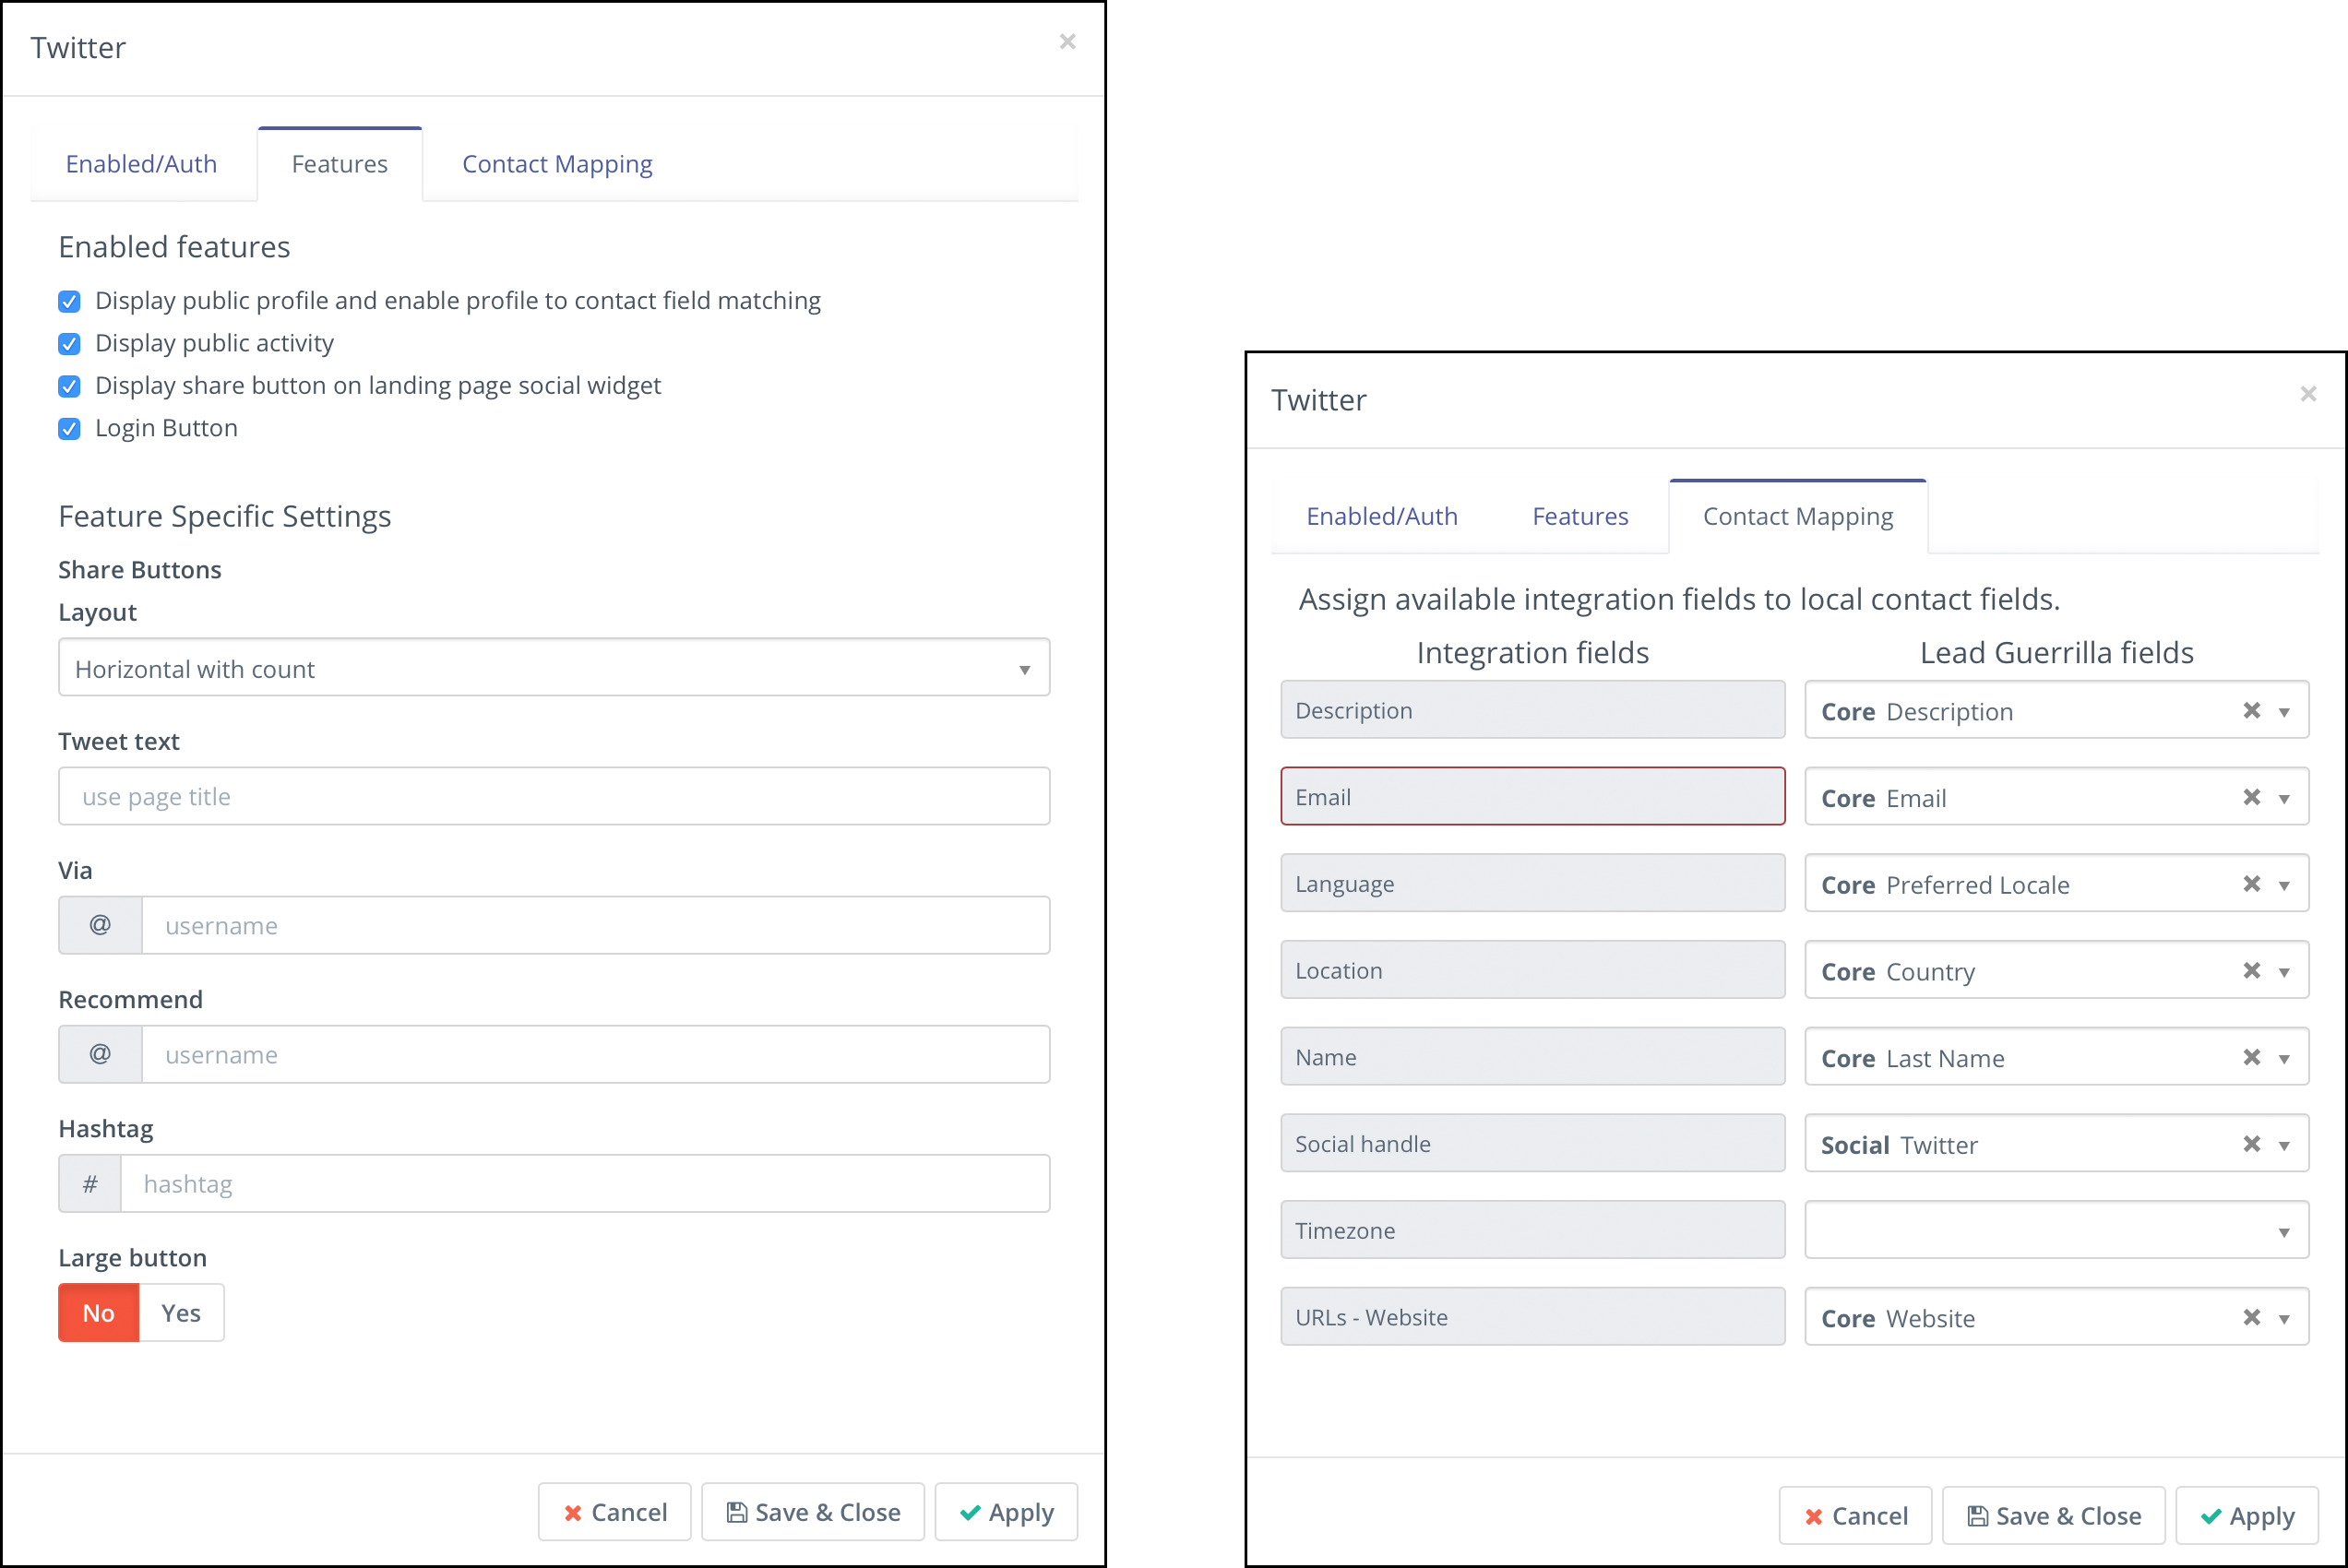
You can use the Twitter Plugin for Lead Guerrilla to display all the tweeting activity for a Contact, as long as you add their Twitter handle to their Contact profile. You can also send tweets to Contacts, using either the Tweet Contact action in a Campaign, or as part of a Marketing Message definition. Using this plugin will enable you to place a share button on your Landing Pages as well. If you wish to have these capabilities available to you, you will need to configure this plugin.
Setup Twilio Integration Plugin (Optional)
Before you start to send Text Messages from Lead Guerrilla, it needs to be connected to the service which can send them. Currently the only service we support to do this is Twilio. In order to configure the Text Messages correctly, follow the steps outlined in the User Guide.
Configure 1CRM Integration Plugin
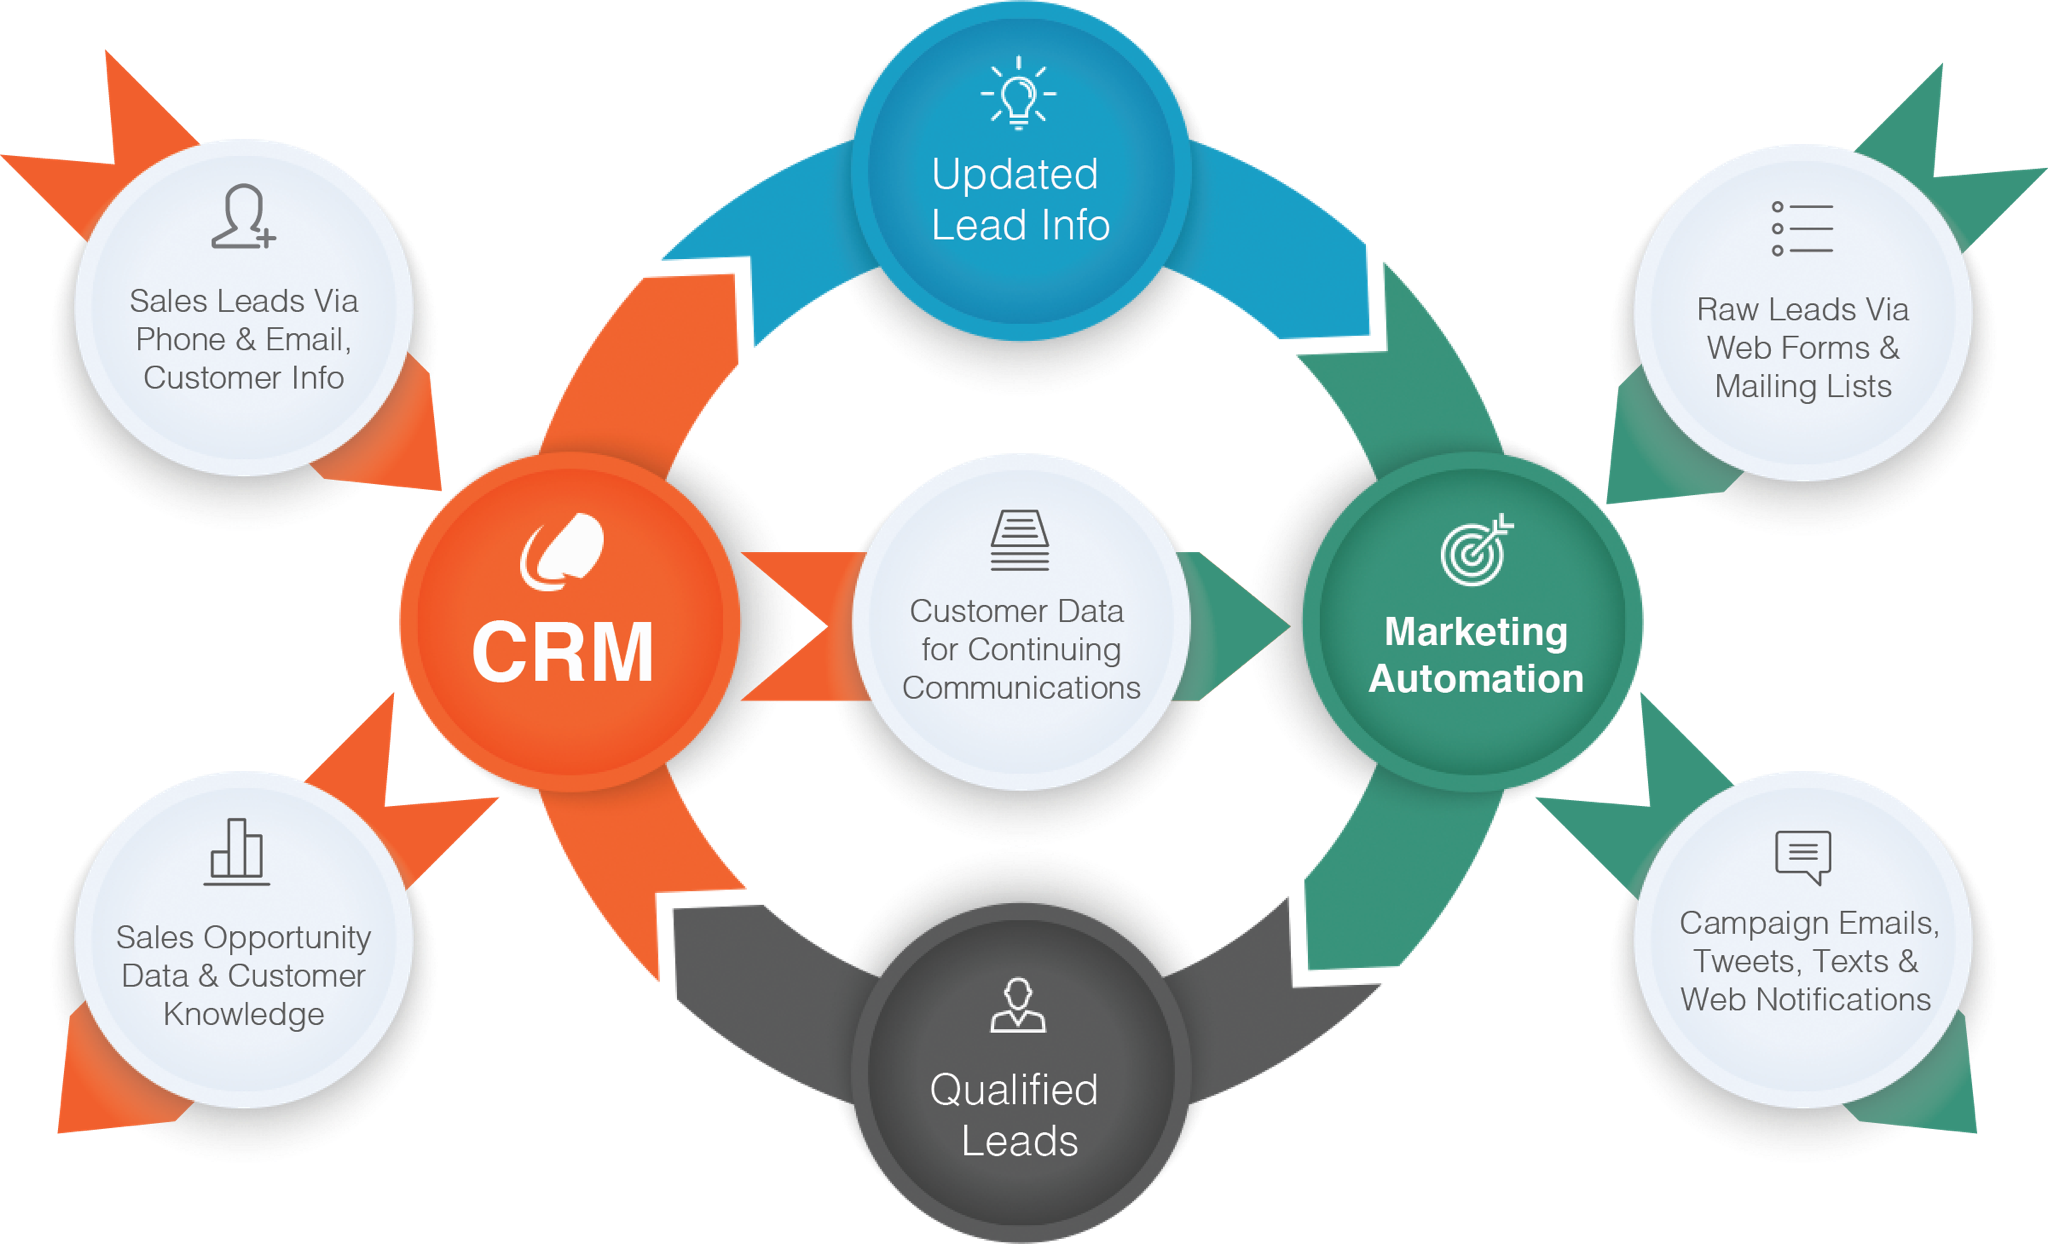
Lead Guerrilla can synchronize with its stable-mate, the core 1CRM product from 1CRM Systems. You can synchronize Leads, or Contacts, or both. You can also choose to synch only selected Segments of Lead Guerrilla Contacts. This ongoing bi-directional sync is complemented by the option to perform an automated initial push of 1CRM data into Lead Guerrilla.
Another useful aspect of the 1CRM to Lead Guerrilla sync is that there are two parts to it – one part in 1CRM, and one in Lead Guerrilla (the Plugin). Should you wish your sync between them to be two-way, configure both parts. If on the other hand, you’d prefer it to be only one-way you can do that too.
Add Custom Fields for Tight Process Integration
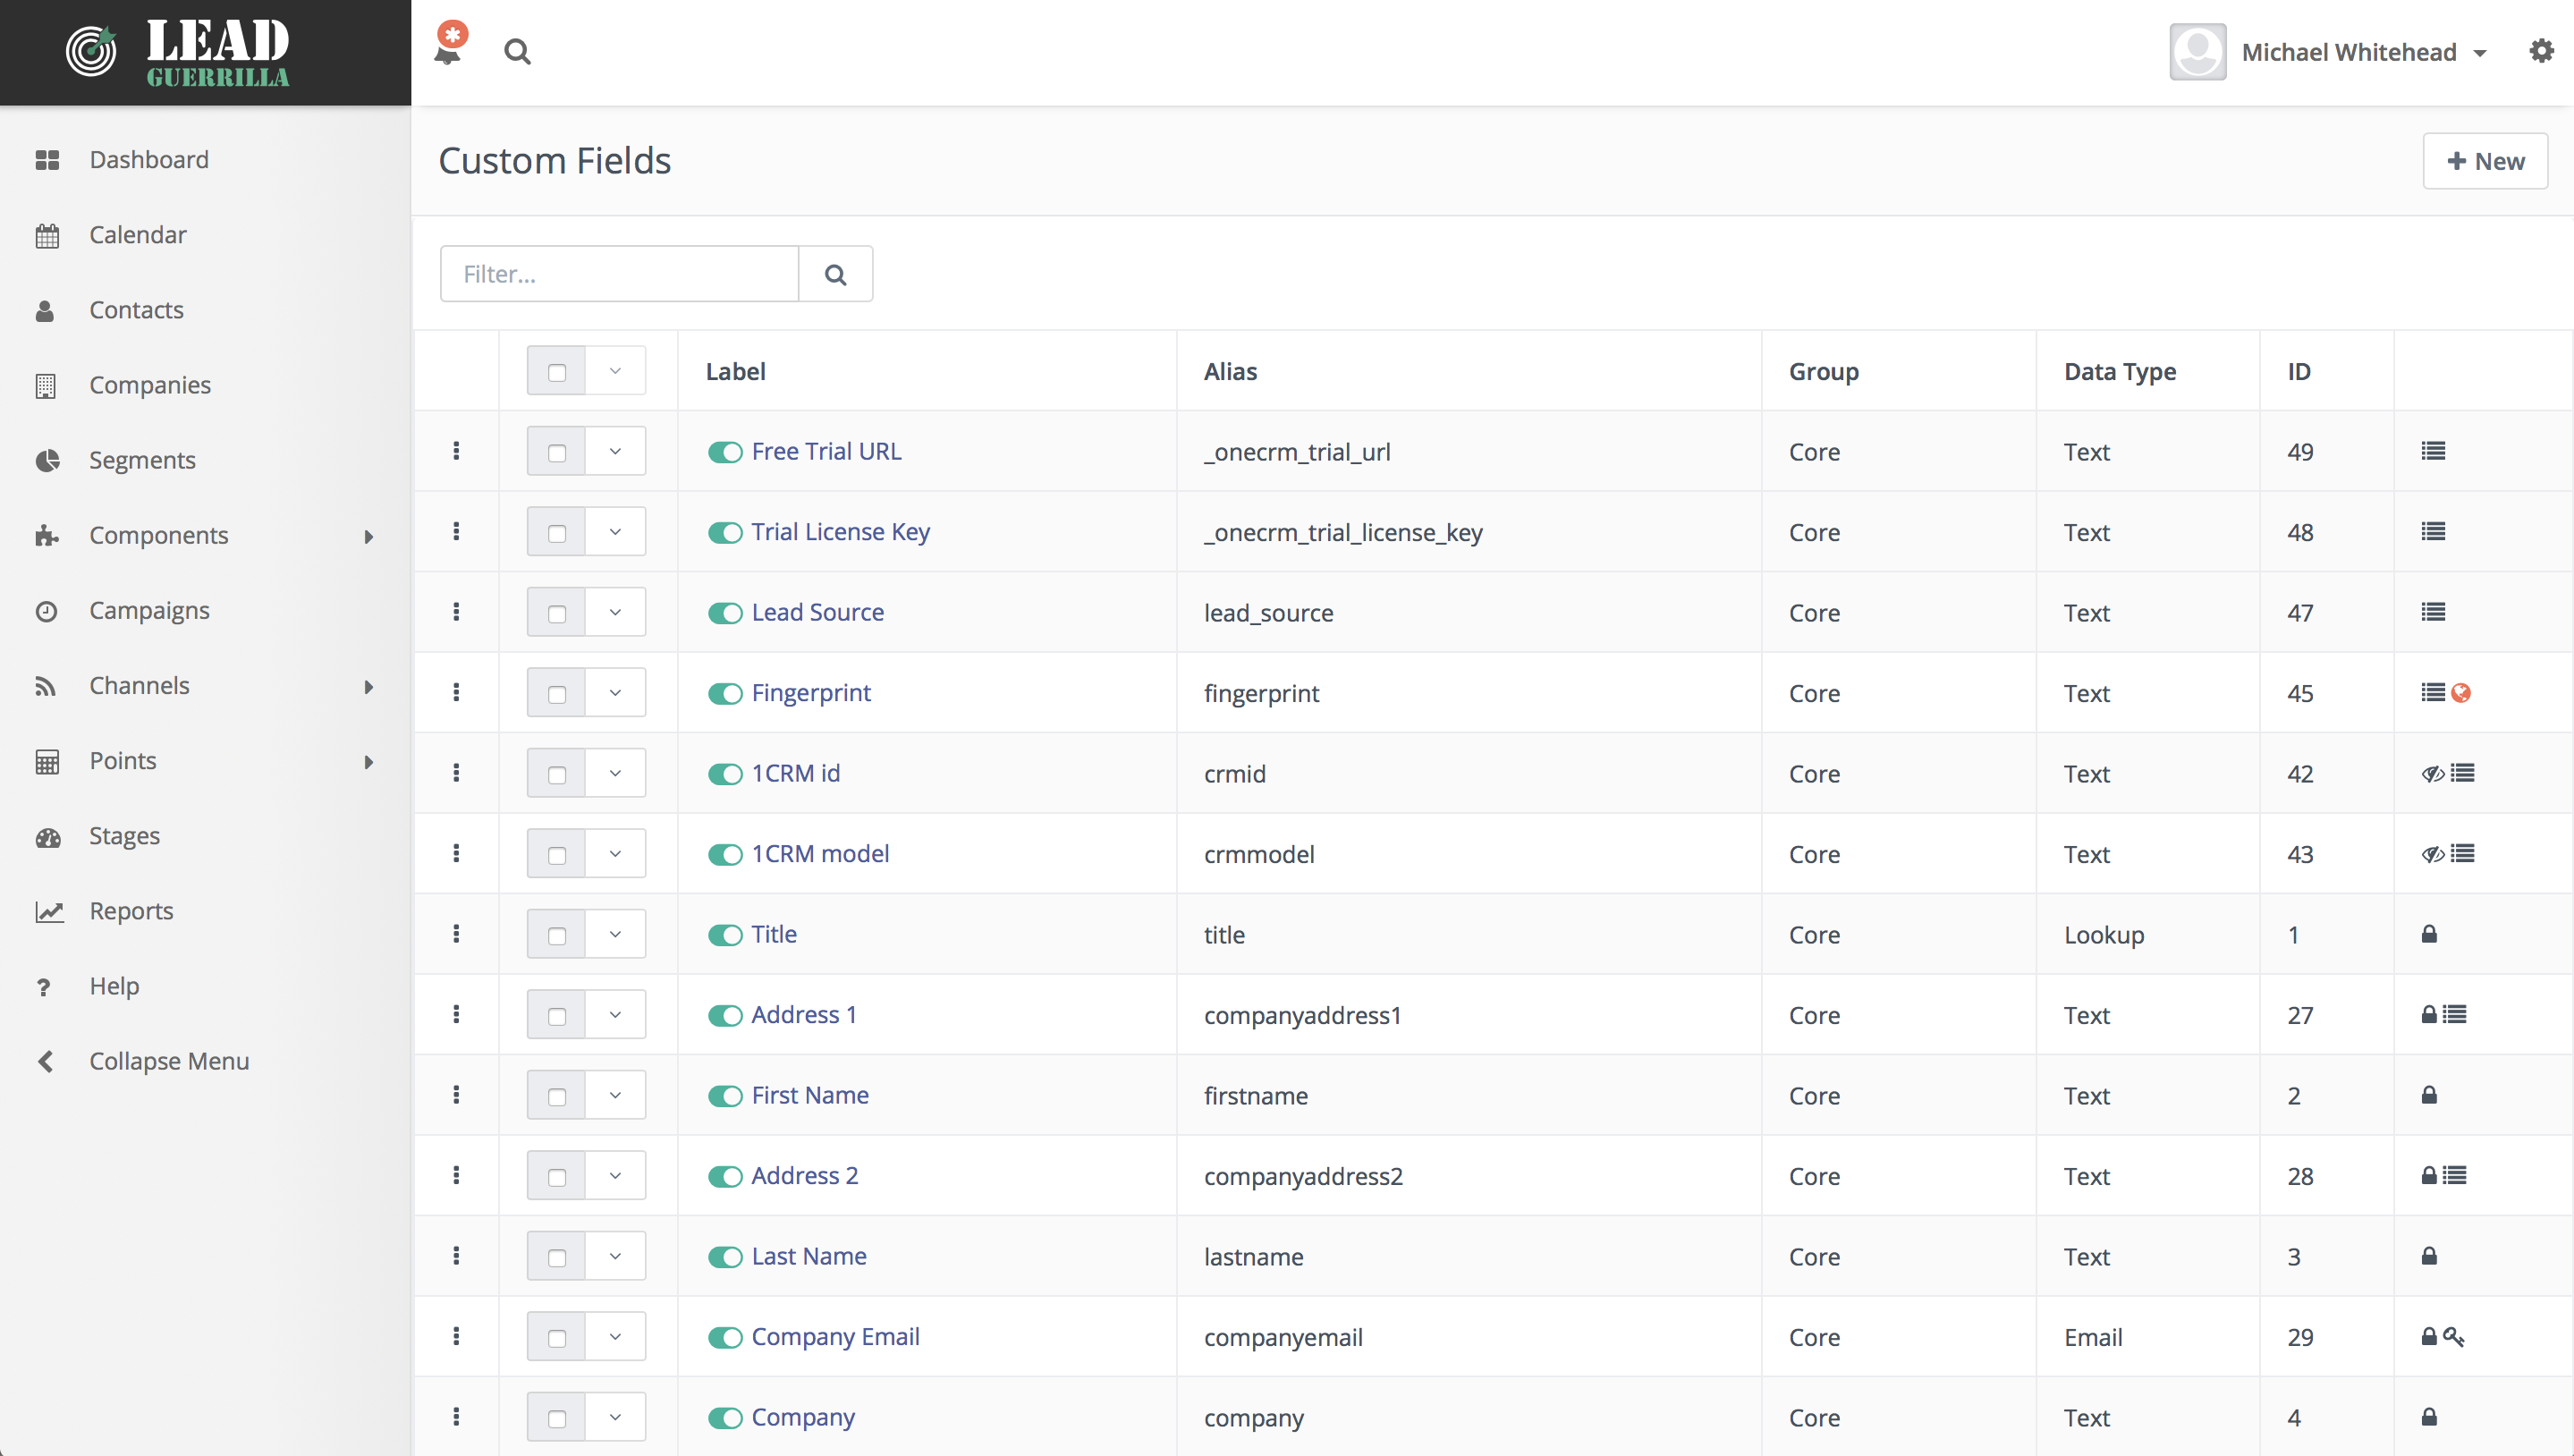
In addition to the standard fields which are mapped between Lead Guerrilla and 1CRM, their integration offers the option to custom map fields between the two systems, to promote even tighter coordination of your business processes which span them.
One extremely useful ability allows you to map 1CRM Checkbox fields within the Leads and/or Contacts modules to Tags on Contacts within Lead Guerrilla. Simply create custom Checkbox fields in the Leads and/or Contacts modules within 1CRM and matching Tags will be created within Lead Guerrilla, and the two corresponding elements will sync values with each other.
Standard or custom fields within Lead Guerrilla Contacts can also be mapped to custom fields in 1CRM. Simply create a custom field in 1CRM with Lead Guerrilla’s field Alias, prefixed with lg_.
Initial Data Migration from 1CRM or other Data Source
New Contacts are added to Lead Guerrilla via the link to 1CRM or another CRM, or by importing a CSV, or by manual data entry. When importing a CSV you will need to map each column of the CSV to a specific field within each Contacts record. The 1CRM integration plugin (see above) has an option for an initial push of 1CRM data into Lead Guerrilla.
You may need to define CRM workflows, or add custom Cron tasks, to ensure that CRM tags for leads and contacts are continually updated, so that Lead Guerrilla will maintain up to date segmentation based on these tags.
Configure OneSignal to Use Web Notifications
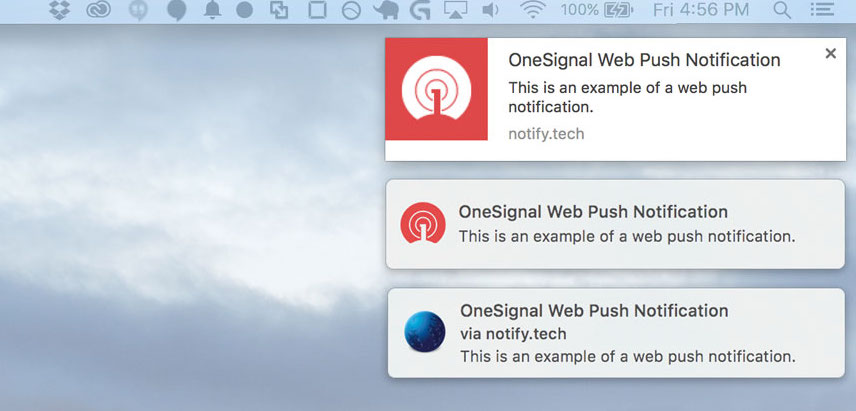
Web notifications within Lead Guerrilla use the OneSignal service. Using your own OneSignal account, you can push a notification to a visitor’s browser with their permission. If you wish to use web notifications you’ll need to configure the OneSignal plugin, after which you will see them listed as an option under Channels in the system menu.
